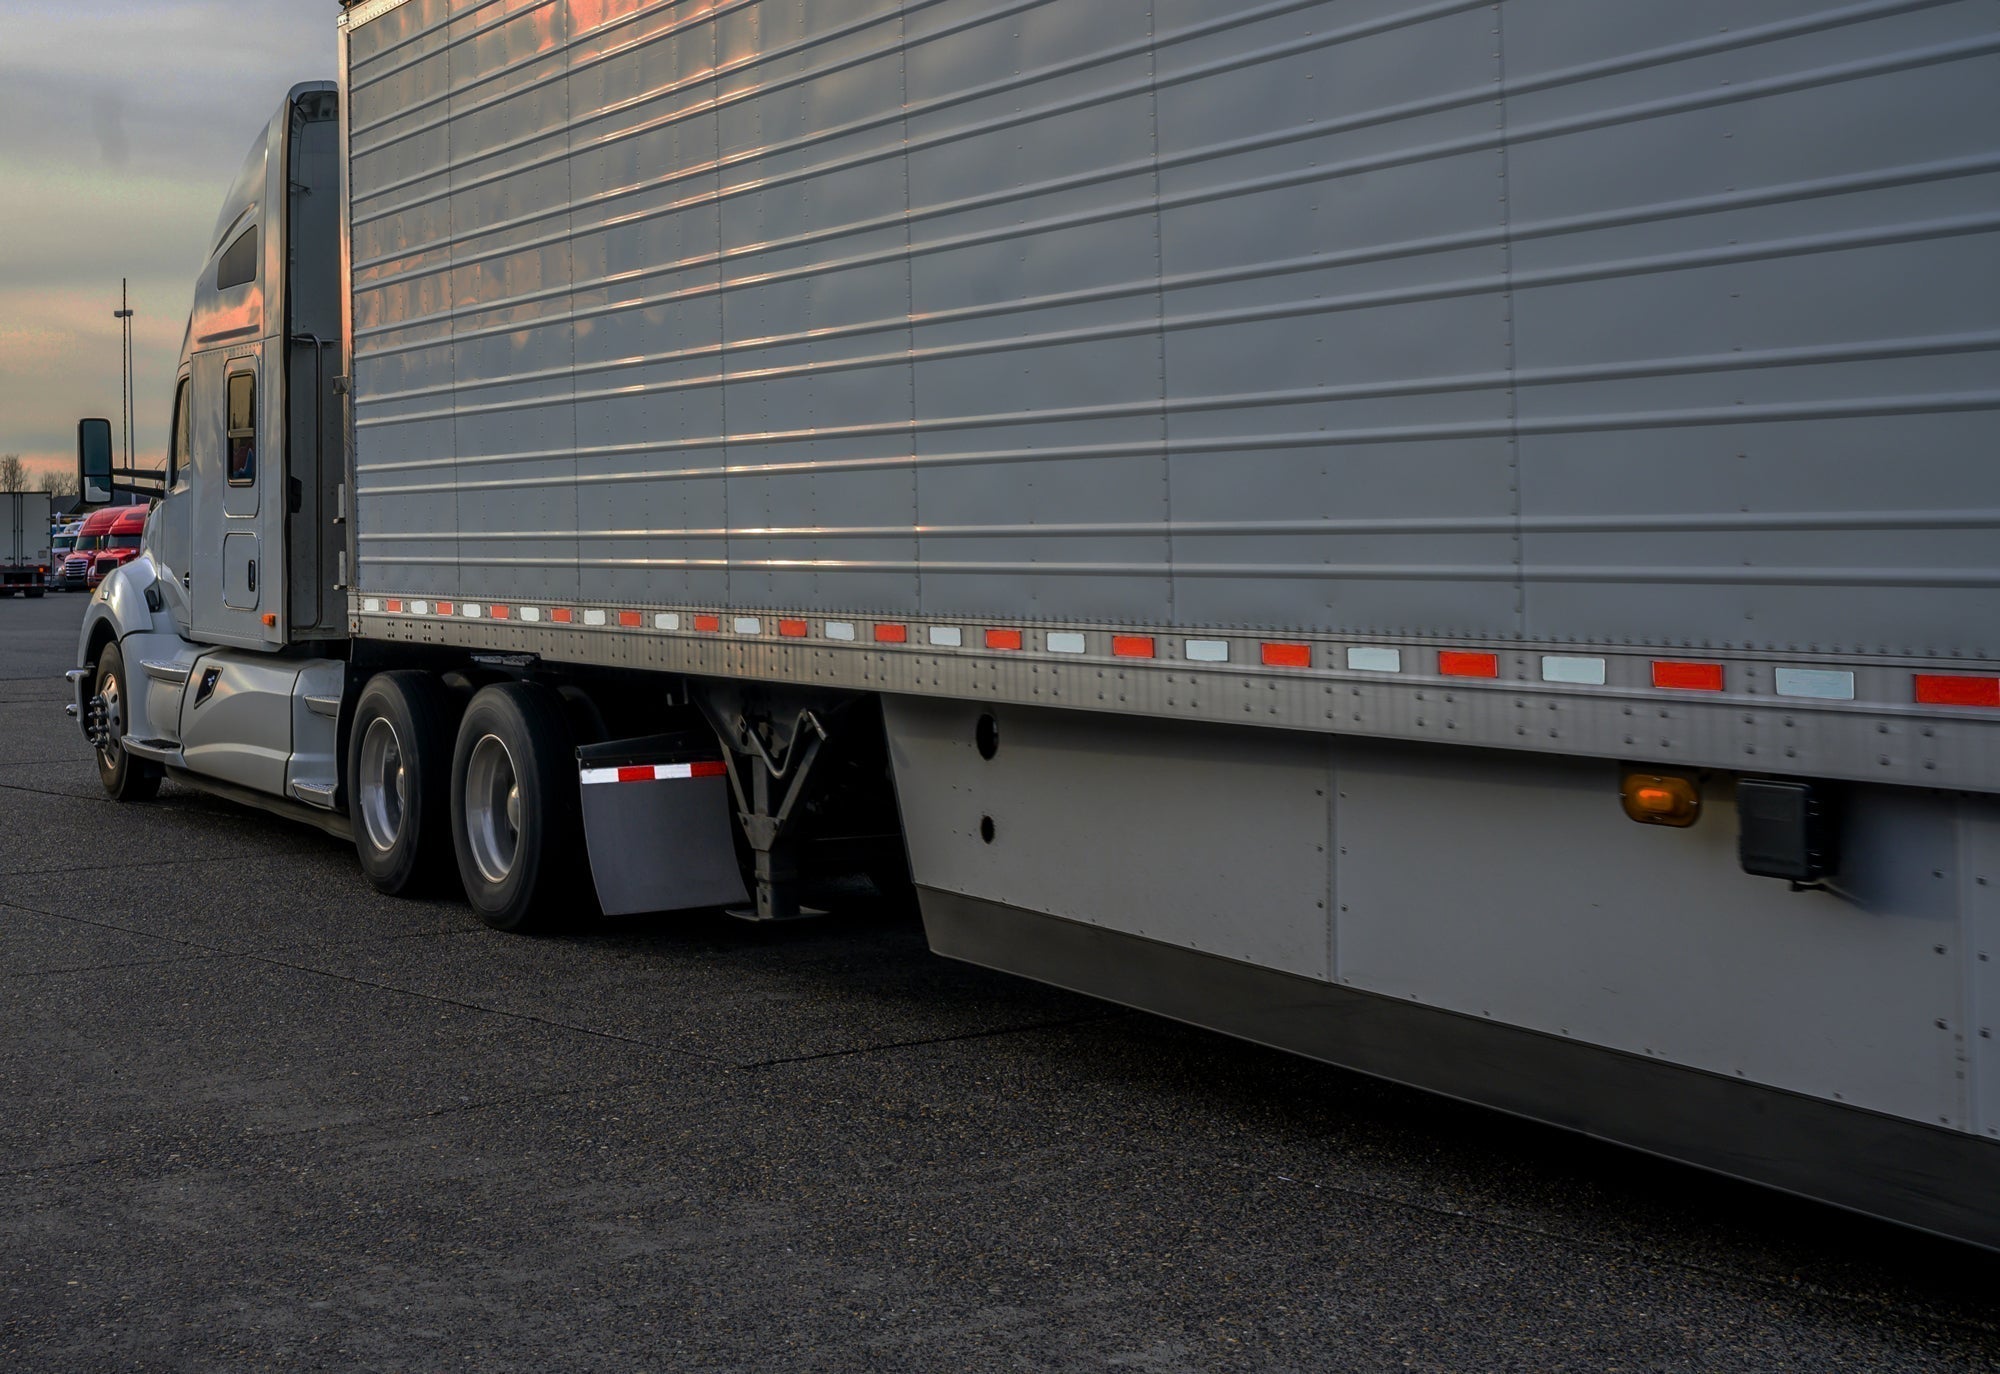


Reflective tape is an essential element for vehicle marking and safety. Used on trucks and trailers, emergency vehicles, or industrial equipment, it significantly improves visibility both day and night.
However, a poorly executed reflective tape installation can reduce its effectiveness and durability. To guarantee optimal adhesion, it is crucial to respect specific conditions, thorough preparation, and a professional application method.
In this guide, discover how to correctly apply reflective tape to a vehicle, step by step.
Why is Correct Reflective Tape Installation Essential?
A poorly applied reflective strip can lead to:
- premature peeling
- loss of night visibility
- non-compliance with road safety standards
- a reduction in the product's lifespan
Conversely, a professional installation ensures:
- better visibility of vehicles on the road
- compliance with transportation and safety requirements
- maximum durability in inclement weather
Ideal Conditions for Applying Reflective Tape
Before any installation, environmental conditions must be taken into consideration.
Recommended Temperature
- Ideal temperature: 50°F to 100°F (10°C to 38°C)
- Above 100°F (38°C): risk of pre-adhesion occurring
- Below 50°F (10°C): heat the surface before application
Important Conditions
- Perfectly dry surface
- Absence of dust or grease
- Avoid installing in very hot, direct sunlight
- Work in a controlled environment if possible
An incorrect temperature is one of the main causes of reflective tape adhesion failure.
Tools Needed to Install Reflective Tape

To achieve a professional reflective tape installation, it is recommended to use:
- Scissors or a sharp utility knife
- A squeegee or pressure application roller
- A hand applicator (industrial type recommended)
- Lint-free cloths
- Mild cleaner + solvent (diluted isopropyl alcohol recommended)
Pressure tools are essential to ensure optimal adhesion.
Surface Preparation: The Key Step for Long-Lasting Adhesion
Preparation is the most important step to guarantee the performance of the reflective tape.
Professional cleaning steps:
1) Initial Cleaning
Wash the surface with water and detergent to remove:
- dust
- grease
- road film
2) Complete Rinse
Rinse thoroughly to eliminate any soap residue (which can impair adhesion).
3) Degreasing
Wipe with a lint-free cloth soaked in solvent:
- diluted isopropyl alcohol (ideally 1:3 with water)
- or a solvent recommended by the manufacturer
4) Immediate Drying
Dry before complete evaporation, paying special attention to:
- joints
- rivets
- hinges
- textured areas
A poorly prepared surface is the #1 cause of premature peeling
How to Apply Reflective Tape Step by Step
Once the surface is ready, you can proceed with the installation.
Step 1: Initial Positioning
Secure the position of the tape using masking tape. Once the tape is positioned, start removing the liner (backer).
Step 2: Fixing
Remove the protective film progressively in small sections. The tape should not touch the substrate unless pressed down by an appropriate tool.
Step 3: Applying Pressure
Press firmly with a squeegee or a roller. Use slow, steady, and overlapping motions. Do not stretch or pull on the tape during installation.
Step 4: Finishing
Go over the entire surface again applying uniform pressure.
Managing Complex Areas (Rivets, Hinges, Angles)
Certain areas require an adapted technique:
Around Rivets
- Press firmly over the rivet
- Cut around it with a suitable tool
- Remove the excess
- Smooth down the edges
Hinges and Moving Parts
- Cut the tape about 1/8 in (3 mm) away
- Avoid any tension on moving parts
Today, modern fastenings often favor adhesives over mechanical rivets.
Common Mistakes to Avoid During Installation
To guarantee a long-lasting reflective tape application, absolutely avoid:
- installation on a wet or dirty surface
- application in intense, direct sunlight
- temperature outside the recommended range
- lack of pressure during application
- stretching the tape during installation
- incorrect starting position (prismatic tape is not repositionable)
Pro Tips for Maximum Durability
- Always work in a controlled environment
- Use constant pressure across the entire surface
- Take the time to properly align the tape
- Store the tape in a temperate environment before use
- Check adhesion after installation
- Installation instructions may vary from one product to another; it is also important to follow the manufacturer's recommendations.
Precise Installation for Maximum Safety
Applying reflective tape to a vehicle is not something to be improvised. From surface preparation to temperature conditions and application technique, every step directly influences product performance.
A professional installation guarantees:
- optimal visibility
- enhanced safety on the road
- long-term durability
For reliable results that comply with safety standards, it is essential to use quality products and follow installation best practices